
Now let us do the initial settings of the new smartphone. Evenif you have been using the smartphone for quite some time now, we are going to set it up as a new one unless you have configured your email and Whatsapp and other Apps in that already. Remember, this exercise is for those are not using their smartphones for anything other than receiving and making calls.
Sim Card
Since we are going to use a data connection from our smartphones, selection of service provider is very important. We need to understand which service provider has greater coverage in the area we are living. For example, in Adoor, more coverage is for Idea. But, when I travel to Bangalore, Airtel has more coverage. When I travel to Trivandrum, Jio gives a better coverage than both Idea and Airtel. Therefore, I have three SIM Cards- one from each service provider said above. But, you may not need to have that many Sim cards. Just select one service provider who could give better coverage in the locality you stay.
Watch Video

Insert the Sim Card into your phone
Method to insert Sim card into phone varies depending on brands and models. A common method in latest smartphones is to open the slot with a pin and insert the sim Card in the Sim holder.

Some models are released with the backover that can be opened to insert Sim cards, Micro SD Cards and Battery.

After inserting the Sim and closing the back cover, switch on the smartphone. If your phone is a used one, in the sense, it has undergone a set up earlier, we will "Factory Rest" it.
Factory Reset
From Settings, Select Backup & Reset.

Select "Factory Data Reset"

Select "Reset Phone"

Select "Erase Everything"

Wait while "Erasing" is displayed on the scren.

You will see Android restarting. Wait...


The language selection screen will appear. You may select English and press continue button.


You will have to select a Sim for calls. You can select the option "Ask every time", so that a prompt will come everytime you attempt to make a call. Choose your option and press NEXT.

You will also have to select a Sim for messages. Select and press NEXT.

When Select WLAN screen with available WIFI connections is displayed, select a WIFI Connection. It's better to do the initial configuration with WIFI connection rather than cellular data connection, as considerable data will be consumed during a initial set up.

If you have selected a WIFI connection, you will have to enter the WIFI Passward.

You can select Show password option so that what you type in as Password is visible.

The device will undergo the connection process...

Be patient with several screens informing you that the set up process is on.

You will come across the Google Sign in screen. Enter the Gmail account title you created earlier.

The on-screen keyboard will appear when you touch the column for email.

After typing the gmail account, press the right arrow at the bottom RHS.

Enter the password for the Gmail account. You can select or disselect the Password visible icon in the roght side of the column.

When you are in the Google Account Update screen, scroll down and press "Yes, I'm In" button.

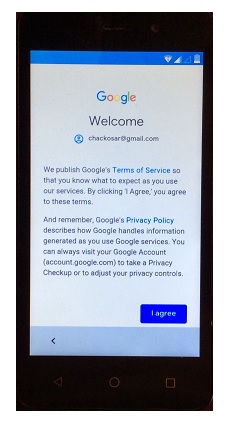
When Google Terms & Condtions screen, press "I Agree".

Select the Google Services like Backup and press NEXT.

Finally, you will come acroos the Welcome screen. Press "GOT IT".
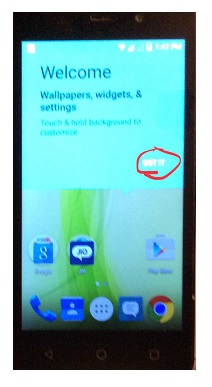
Your smartphone is set up with your Google account and Sim card(s).
Watch Video